709-218-7927 The Landfall Garden House 60 Canon Bayley Road CANADA A0C 1B0 |
|
|---|
.JPG)
Vermicomposting in the cold-climate apartment - Broom Closet Vermicomposter
Tuesday, September 13, 2005
I found some closet doors in the dumpster area. Painted gloss cream white on one side, untreated on the inside.
I bought two packets of hinges for $4.00 at the corner store.

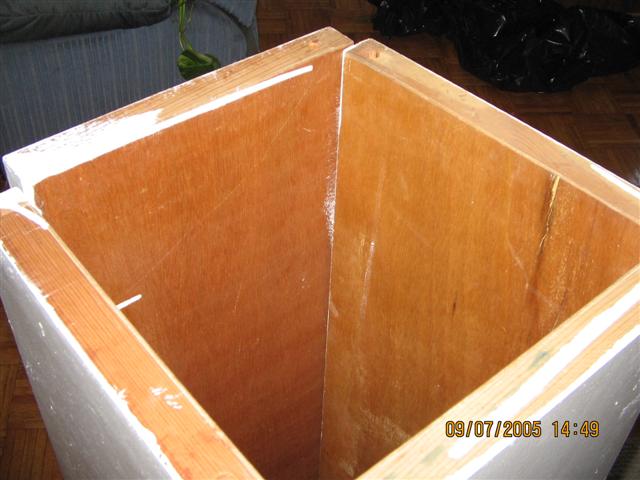
Vermicomposter - one of the two panels with the exit hole, about eight inches square, removed. The cardboard strip "bracing" can be seen, that leads towards a honeycomb effect within the door.
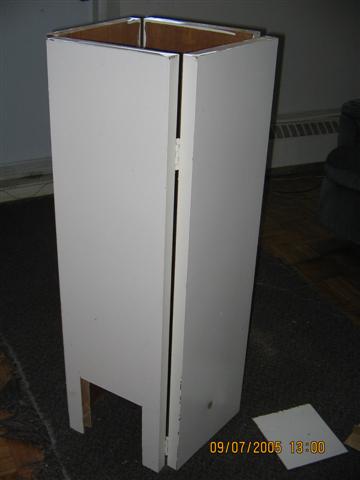
Vermicomposter - here are the two panel-pairs held together. These pairs are 50% of the full height of a pair of panel pairs that originally closed off a cloak closet. Thus one cloak closet can provide enough material for two broom closet vermicomposters, or for one outdoor vermicomposter.
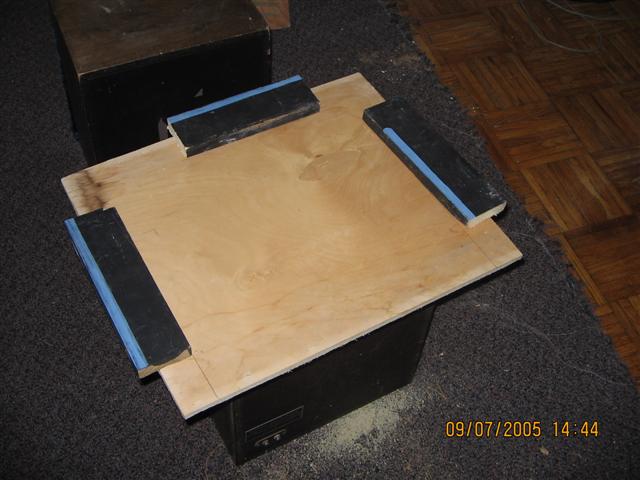
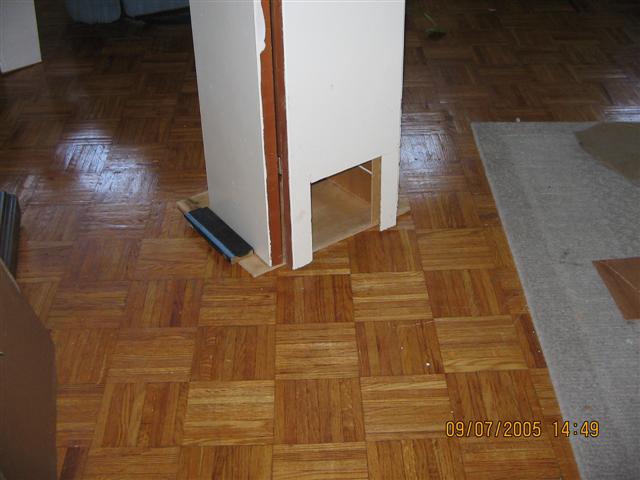
Vermicomposter - the base plate. The three pieces of wood have been placed as a border or boundary for the column. These three strips will prevent the tower from opening. The gate or hole for earth removal will be on the side with no strip.
Vermicomposter - the base plate with two double-door panels hinged together. Jupiter is performing quality control on one of the two steel hinges that were used to hold together the panel pairs to make a four-sided box.
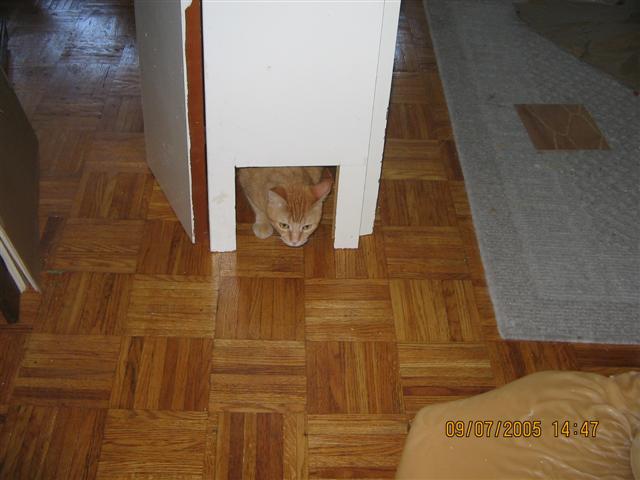
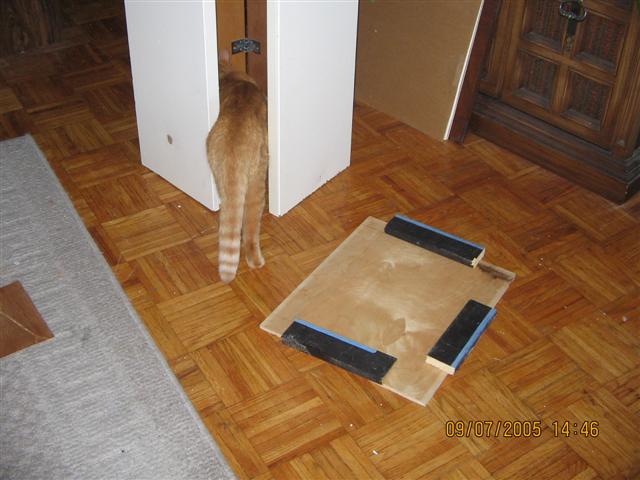
Vermicomposter - Jupiter is cleverly demonstrating how a Red Wriggler worm would feel on finding the light.
Vermicomposter - Jupiter is completing the paperwork while I examine my handiwork. The tower is on its base plate, held in place by the three strips, one of which can be seen.
Vermicomposter - the top of the tower. Look closely and you can see the two holes that held the pins which held the doors in the tracks. With the pins removed, I can make a small triangular plate with two holes and through it drop a couple of old long screws or bolts to hold these two sections together - as I did for my larger two-foot-by-two-foot model outside.
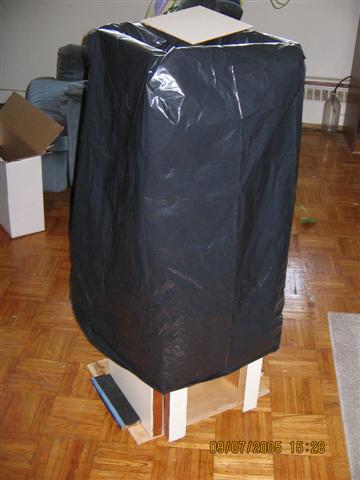
Vermicomposter - I will cover the closet bin with a garbage bag (but see later) to reduce the flow of moisture. Condensation on the inner upper surface of the bag will fall back into the vermicomposter. Dry conditions within the apartment will have a reduced effect on the vermicomposter.
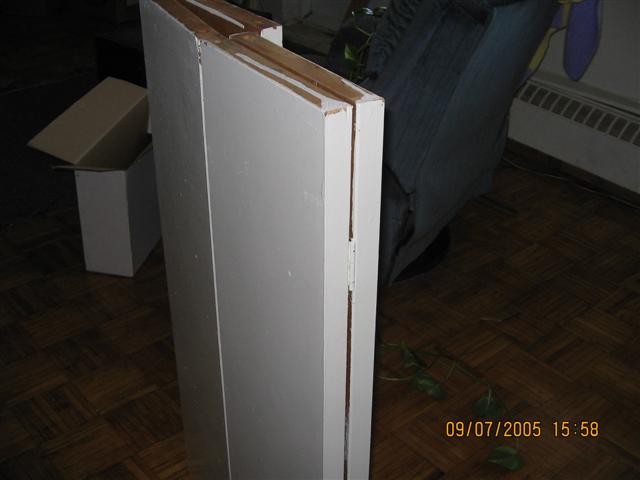
Vermicomposter - yes, it folds up neatly for storage!

Vermicomposter - yes, it fits nicely in the broom closet. The two pin-holes are visible on the corner nearest us on the left-hand side.

Vermicomposter - I set down a thick plastic garbage bag to hold small amounts of excess moisture, although I anticipate the wooden surfaces will act as a reservoir. Part of one of the three retaining strips is visible.
Saturday, December 10, 2005
The tower seemed to be drying out, so I reasoned that placing the garbage bag as an inside liner might be better.
The bin is, of course, full of material.
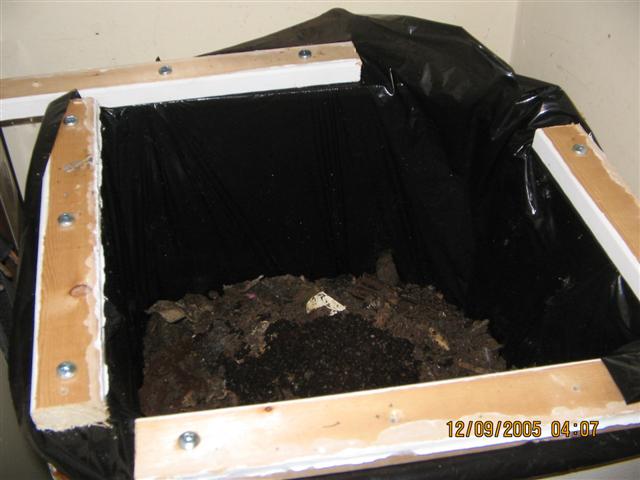
I cut the bottom from the garbage bag to make a cylinder, a rectangular cylinder. The perimeter exceeds the perimeter of my bin.
I draped the bag into the bin, with most of the plastic bunched up atop the material.
I screwed four thin pieces of scrap wood to hold the rim/lip of the bag in place.
During the next week or two, I placed kitchen scraps on top of the bag, and scooped some worms and compost from the bottom.
As material was removed from the base, the material settled, and the bag gradually blossomed into its purpose.
I’ll lose less moisture by absorption into the wooden panels, but will still be able to monitor moisture by checking at the outlet door at the base of the tower.
Monday, April 17, 2006
I consider this to be my most successful design yet.
At no time this winter has the vermicomposter risen above ľ full, and most of the winter it has remained around ˝ full.
It has taken all my kitchen scraps and a great deal of my shredded paper.
It has stayed moist, and there are always hordes of worms in any fresh outfall at the base.
The broom closet itself measures 24” by 24” inside measurement, which leaves about a six-inch gap all a round the vermicomposter.
Loading
709 218 7927 CPRGreaves@gmail.com
Bonavista, Wednesday, June 03, 2020 11:42 AM
Copyright © 1996-2020 Chris Greaves. All Rights Reserved.